|
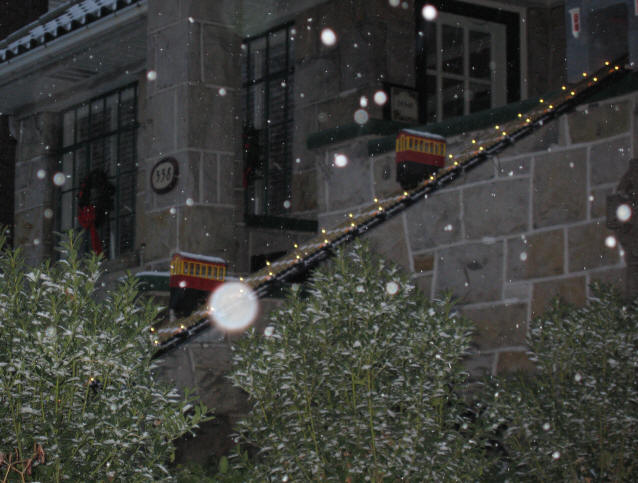
Christmas Incline - November / December 2005
Be sure to check out the newly revised roof - click here
|
|||||||
|
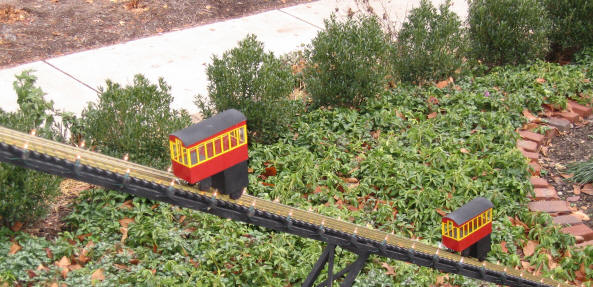
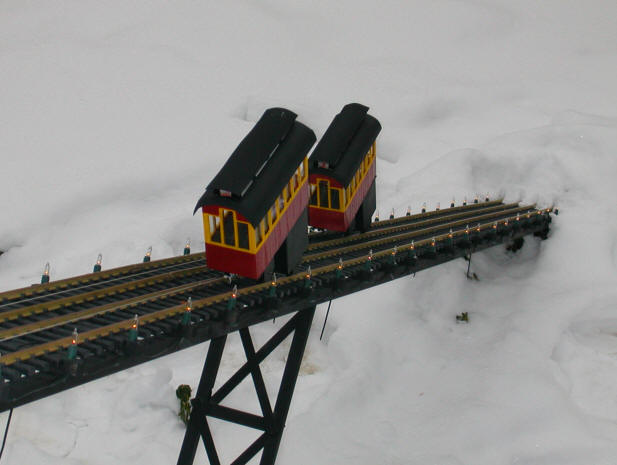
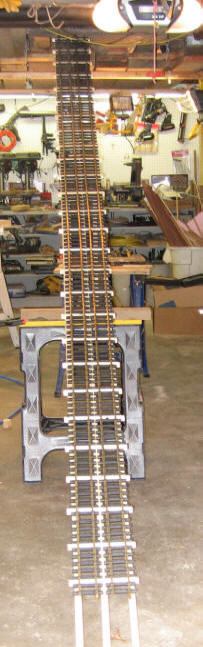
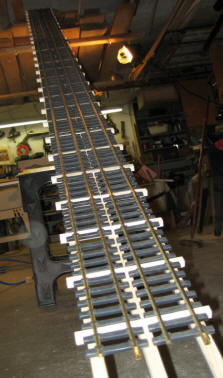
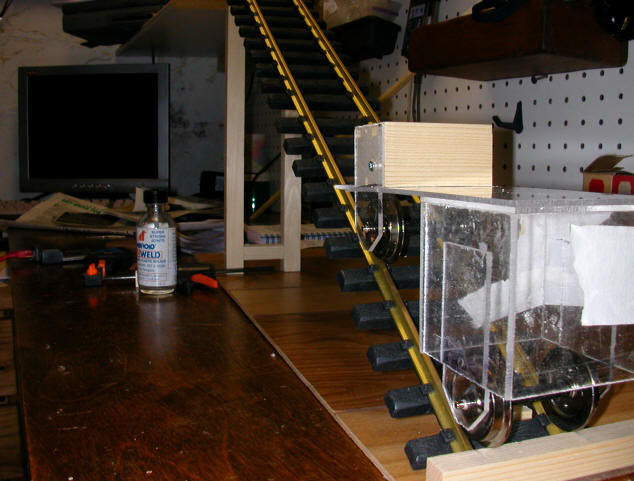
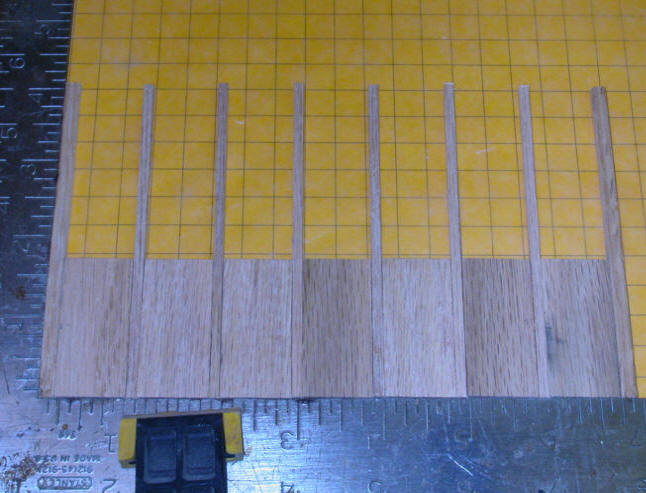
Step-by-Step The three images below show the track base with and without the track installed. The base is about 13' long and will rise a bit over 6' at a 30 degree angle, the same as the Duquesne Incline. The scale is approximately 1/33 using G gauge track
|
|||||||
|
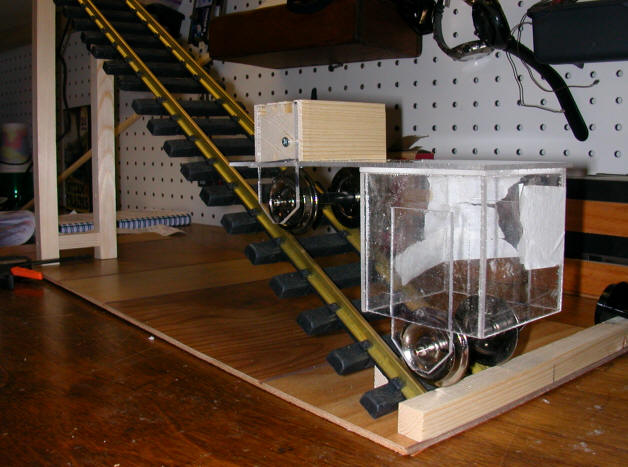
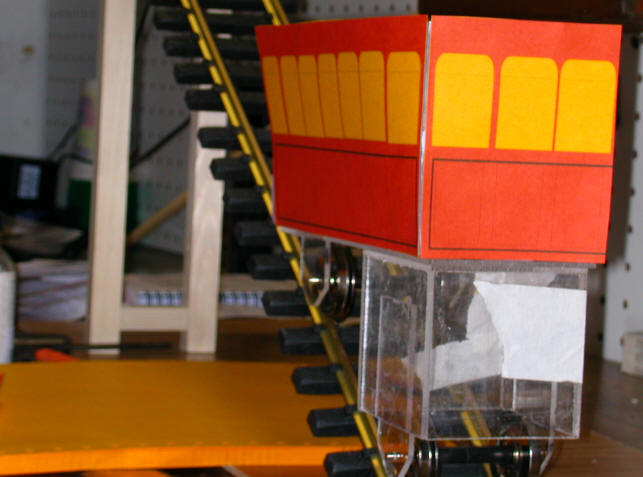
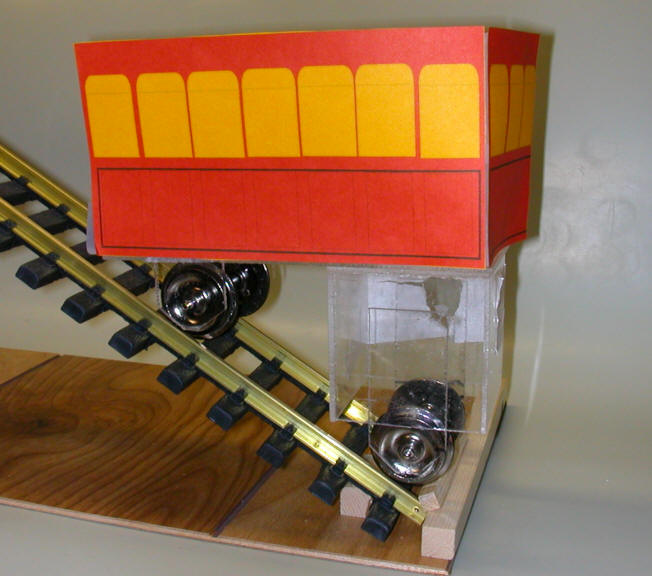
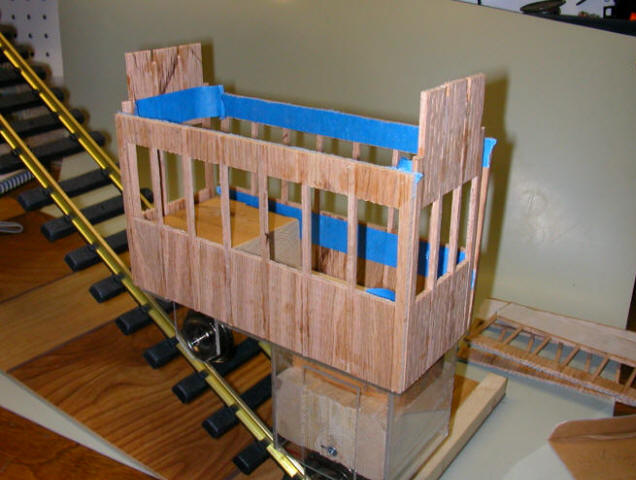
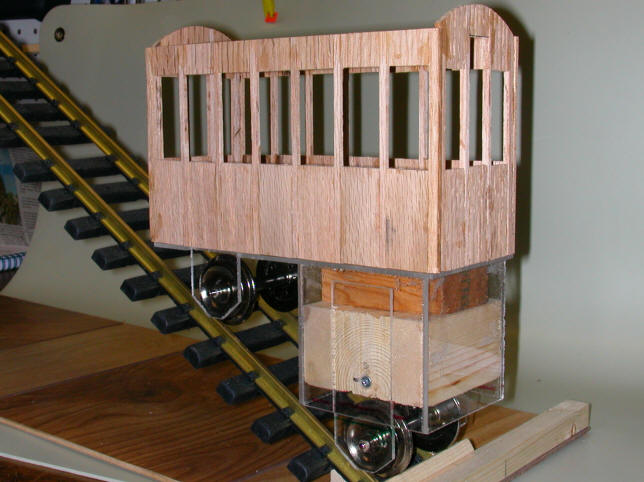
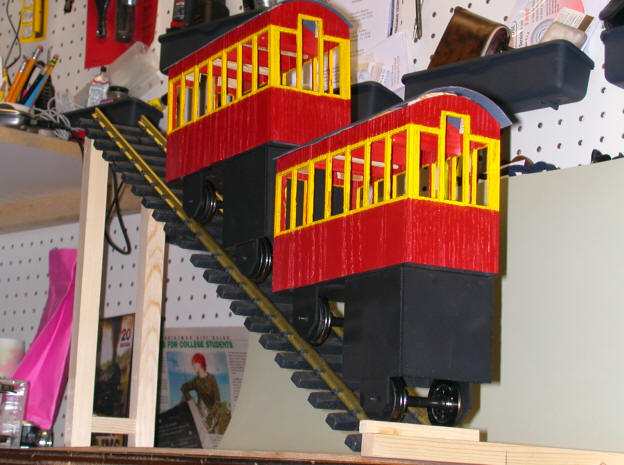
The photo below shows the first try at a Plexiglas mock up of the incline car. The track is at a 30 degree angle. The right portion of the car was once used for storage. The cabin is not yet installed.
Corel Draw helped to create a sample of what the car should look like once complete. Progress!
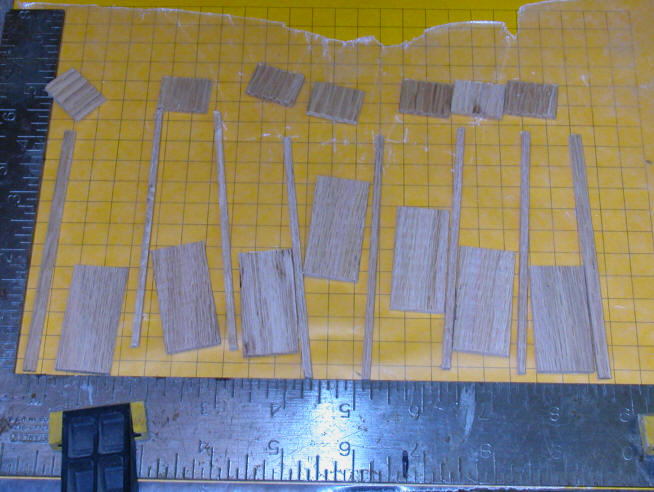
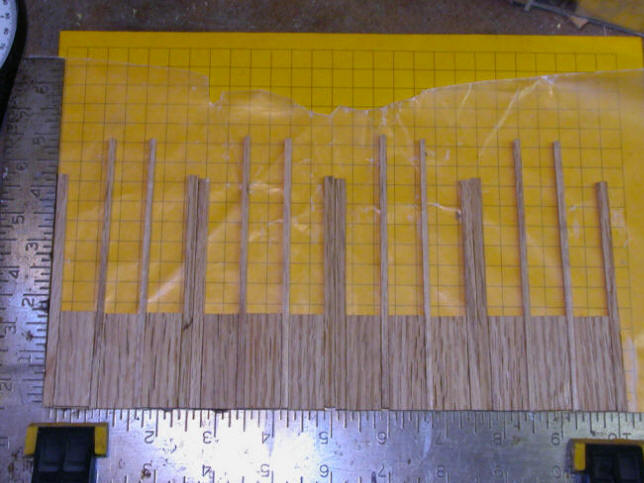
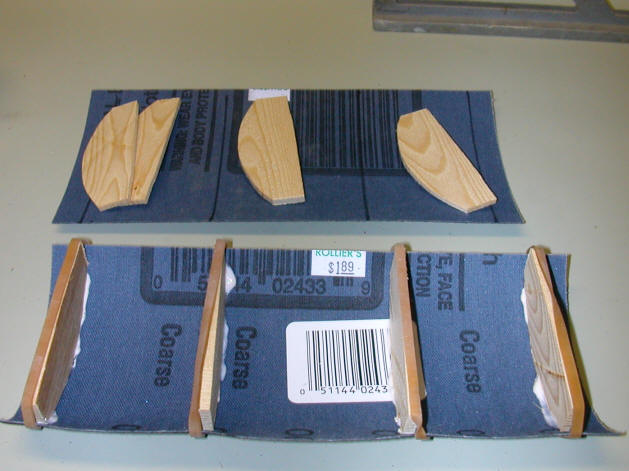
Below are the 22 pieces that were glued up for each side. Note the square used as a gluing jig & the wax and graph paper. This setup really helped.
First glue step:
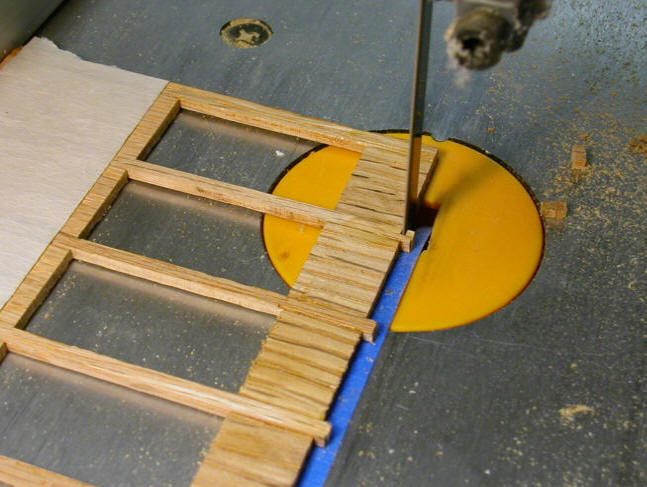
After glue sets (note tape to help hold things together) each side was squared on the band saw.
Four ends all glued at once.
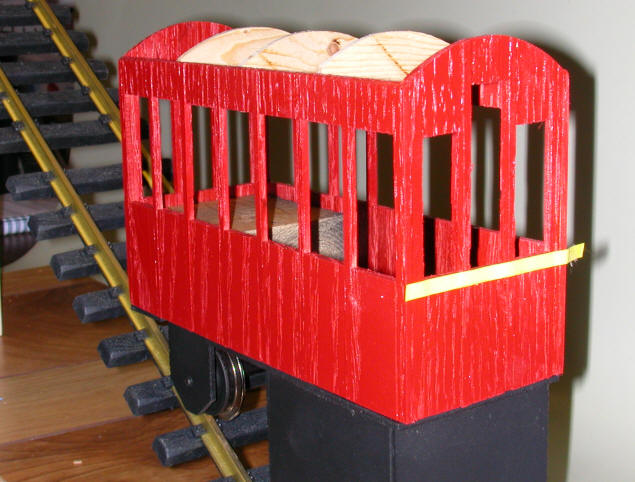
Sides and ends for the incline car. The base and baggage box on the right will be painted black. The car will be red with yellow around the window cutouts. Haven't figured out how I will do the windows yet.....
After cutting the ends to support the round roof and enlarging the center, end window the four sections that make up the car are glued together.
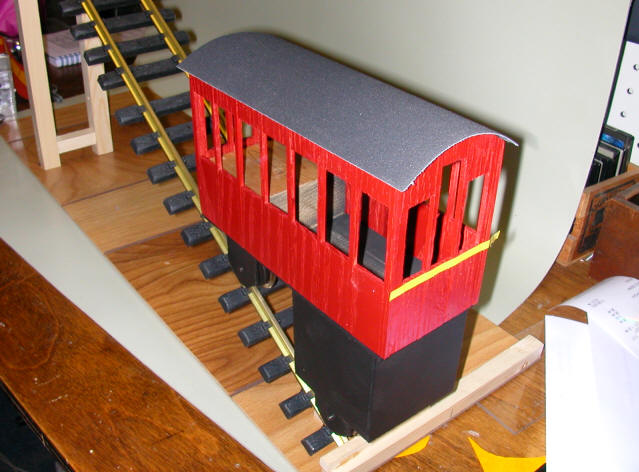
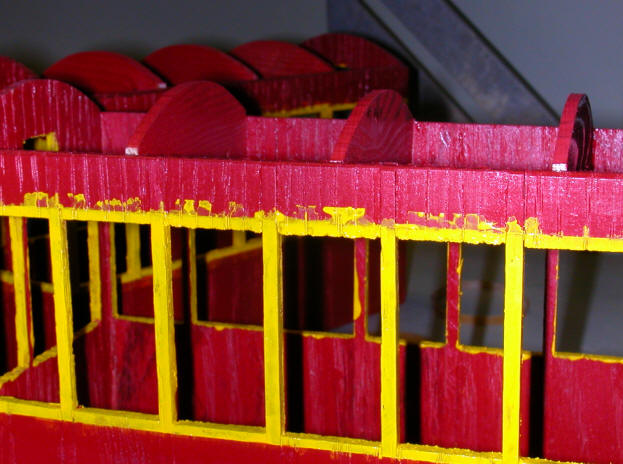
The body of the car is painted red, the base is flat black, the wheels have been blackened and the roof support rafters have been installed.
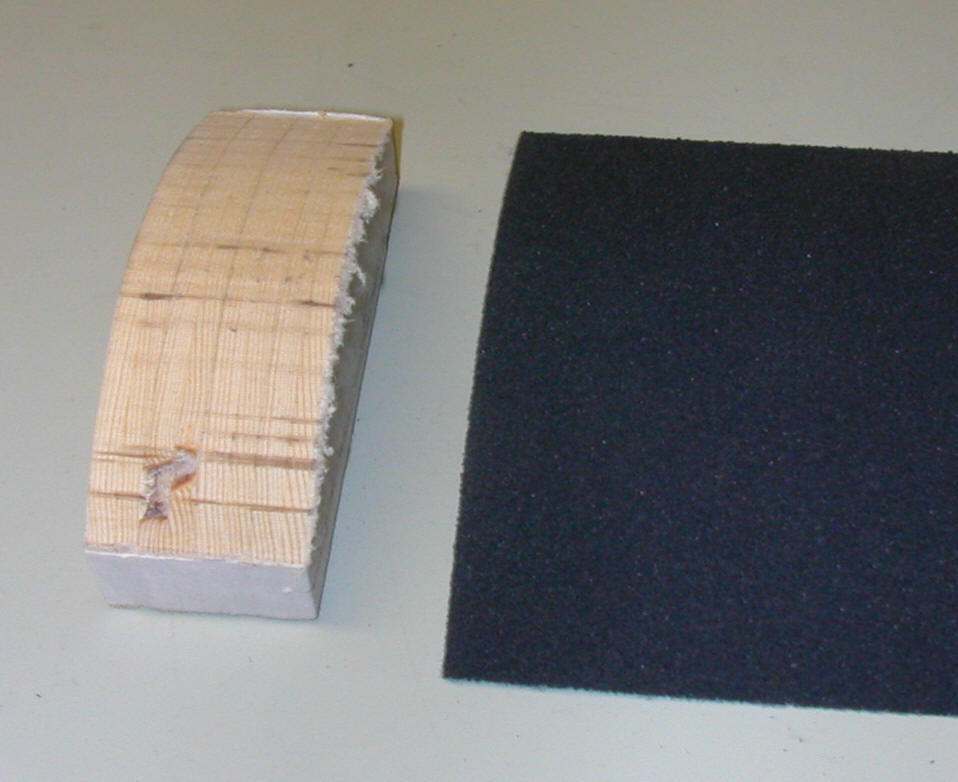
The first step in roof construction. Do you recognize the material? It is coarse emery paper. Forms well, is waterproof and looks about right!
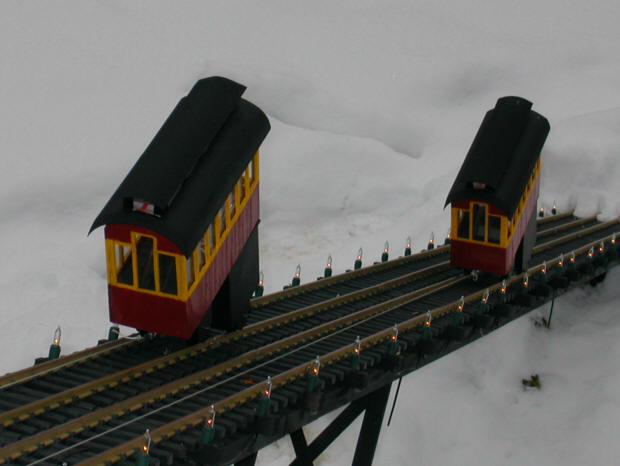
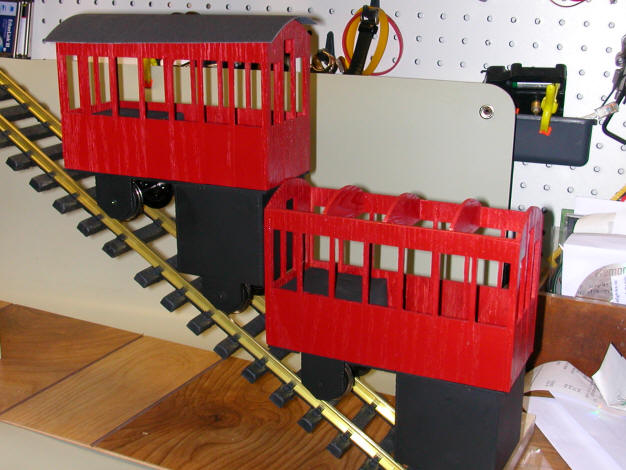
In case you have been wondering I did build TWO cars!
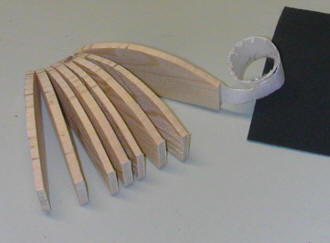
Additional roof trusses to properly curve the roof were cut with the band saw. Eight pieces were taped together & cut at once.
Fast drying TiteBond Wood Molding Glue was used. Loose rubber bands held the trusses in place until the glue set.
Masking tape was used to paint the windows. Bad idea with an open grain wood like oak. Red paint was sprayed into the cap and applied with a brush to remove (most of) the bleed over.
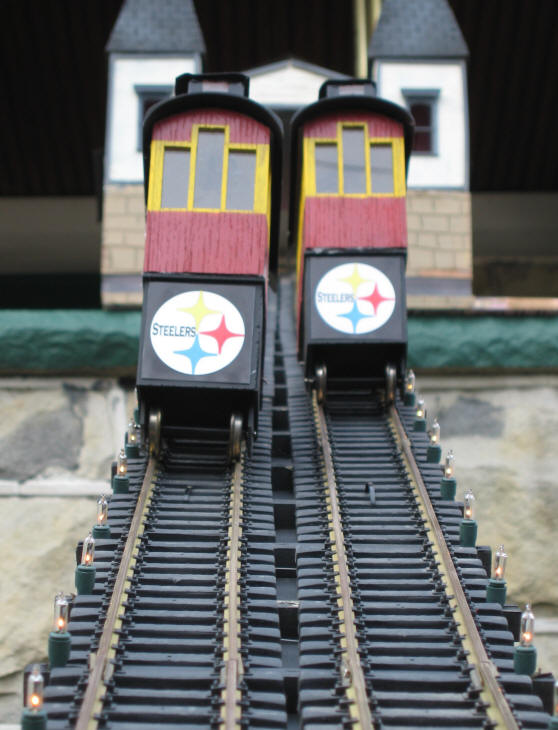
Two painted and roofed cars!
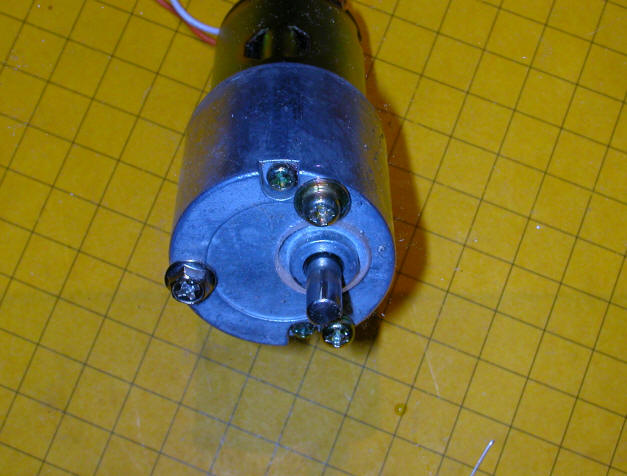
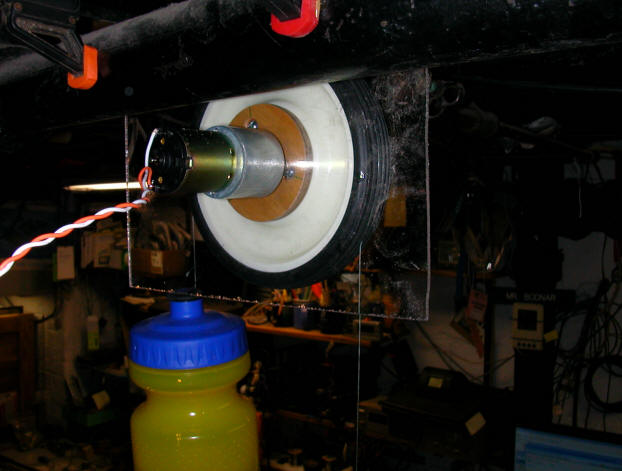
The motor is a 12 volt unit with built in gearing that reduces its speed to around 7 RPM. In the photo below it has been screwed to a piece of 1/8" Plexiglas for testing.
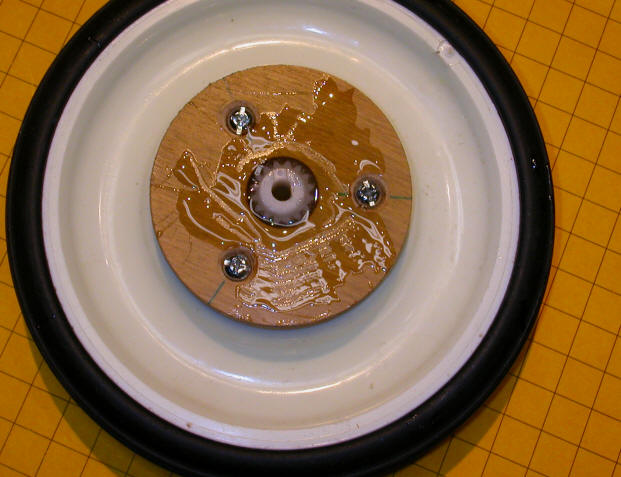
Luckily I had a gear that fit the keyed shaft of the motor. Here it has been glued to the center of an adapter wheel with epoxy. This holds the motor to the main 5" drive wheel that will move the incline's cable.
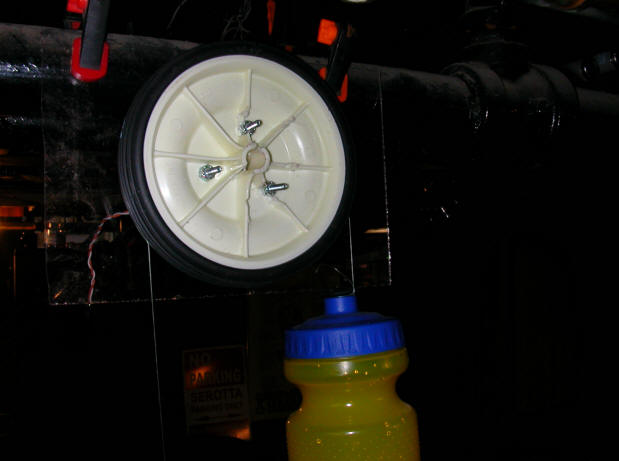
For testing the drive wheel and motor have been temporarily clamped to an overhead heating pipe. Two 1 pound water bottles are used for weights.
Here is a rear view of the test unit.
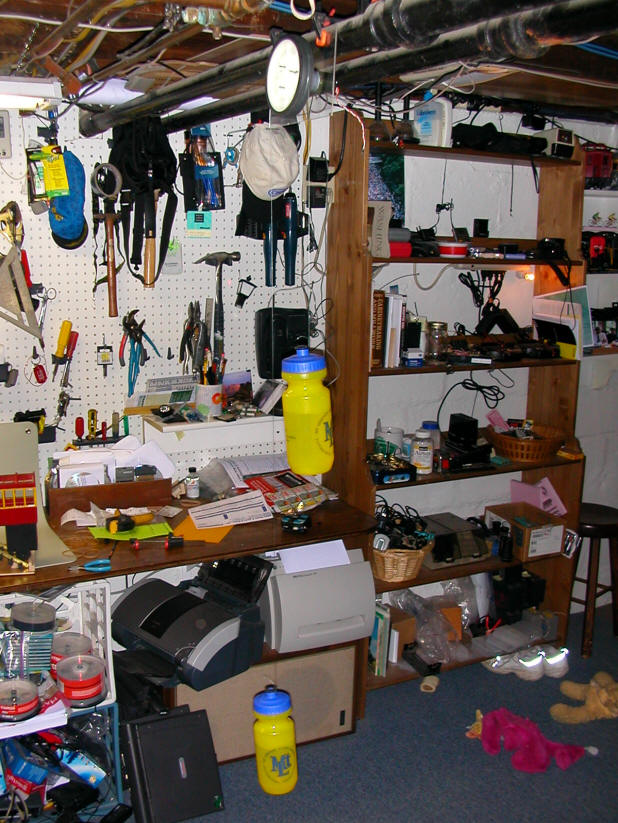
Good news! The drive unit has no trouble with the 1 pound water bottles. Just a bit of friction where the cable (stranded fishing line) crosses itself. (Pardon the mess - a messy shop is a busy / productive shop!)
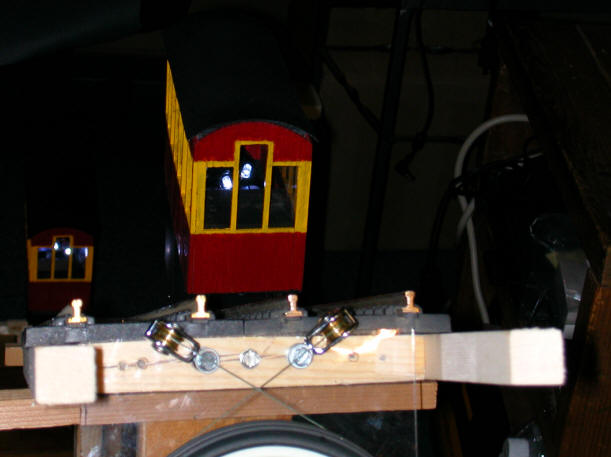
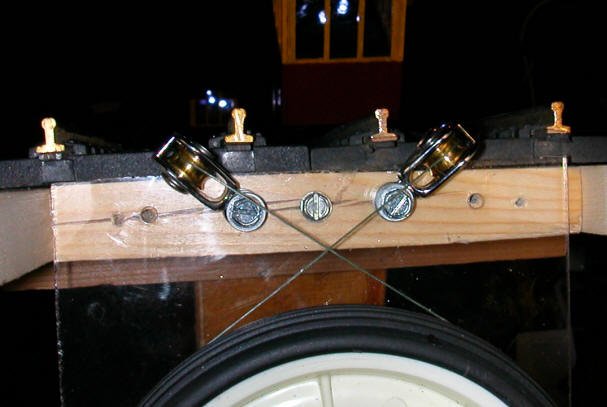
The first run on the test track was a success.... after a few adjustments in the pulleys and looping of the "cable".
The braided fishing line "cable" is looped around the drive wheel only once. Having it crossed increased the pulling power considerably and the cars run very nicely now.
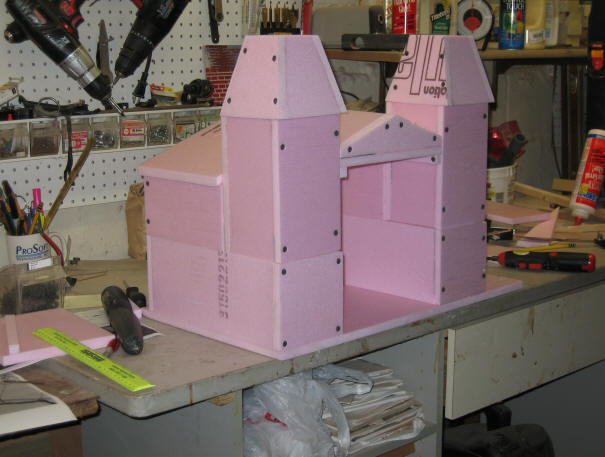
The test track setup was transferred to the full size track in the garage. The only significant change was the replacement of the fishing line with 1/16" braided nylon cord. It works more smoothly and never gets caught in the edge of the pulleys. Below is the start of a foam form for the top building.
Here is it a little farther along - note the compound cuts to make the roof sections of each tower - great fun to figure out! The building will be coated with a thin layer of cement. When it is nearly dry texture for shingles, stone and siding added.
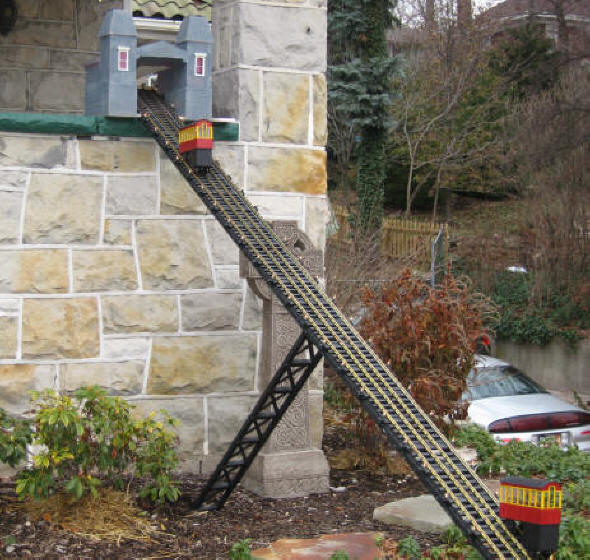
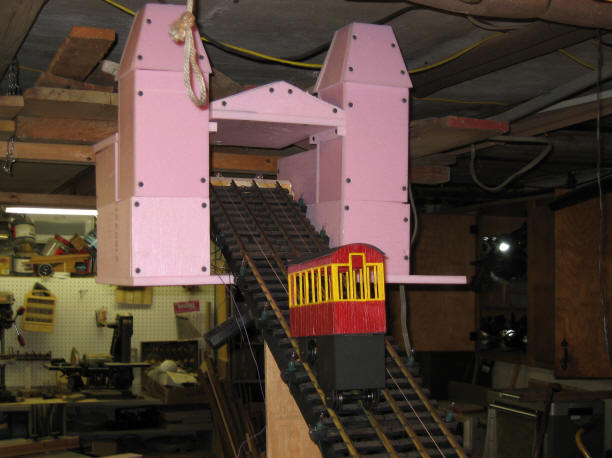
There the building is mounted to the top of the track for a "fitting" - seems OK to me.
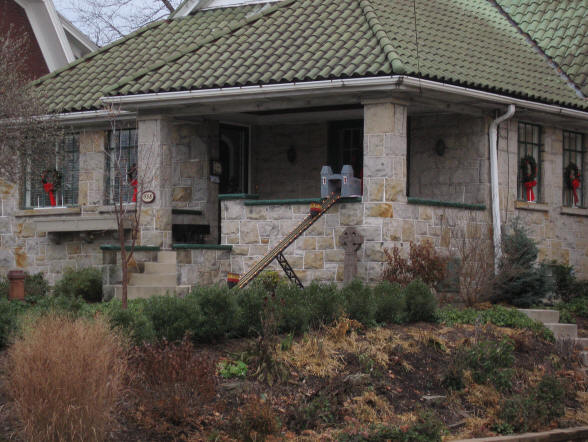
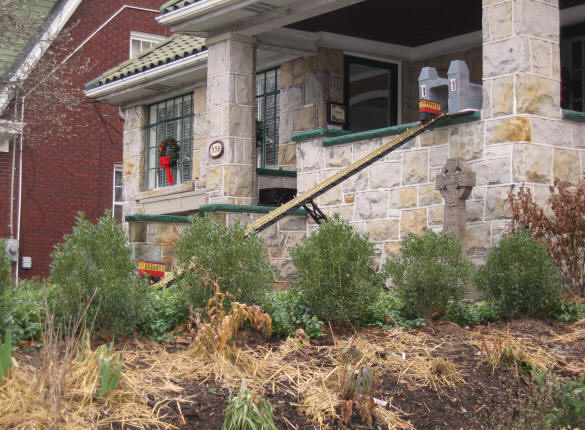
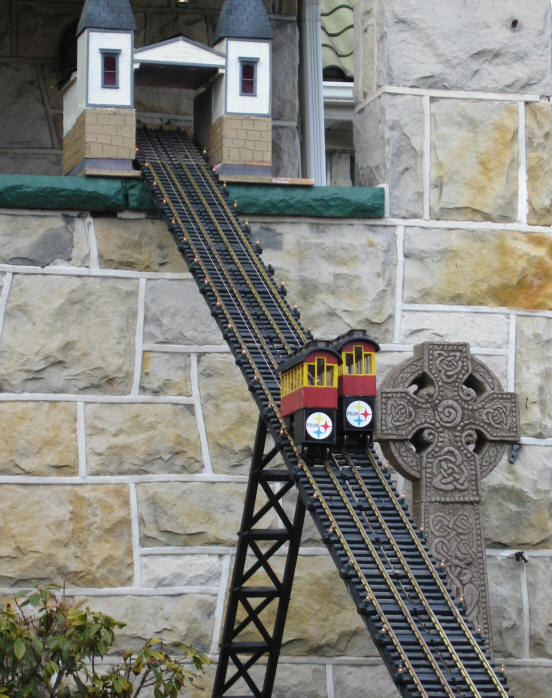
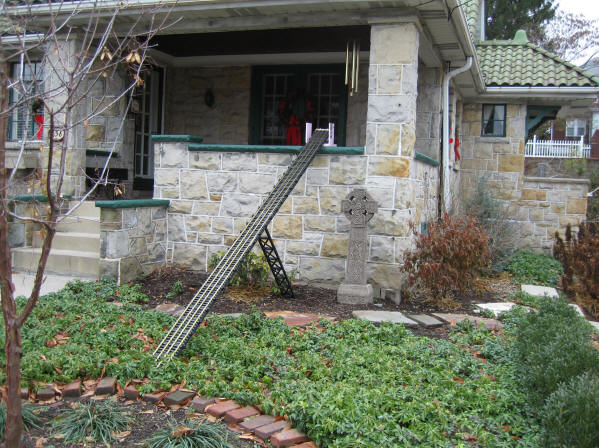
Another test fitting -this time the track where it will live for the holidays, on the front of the house.
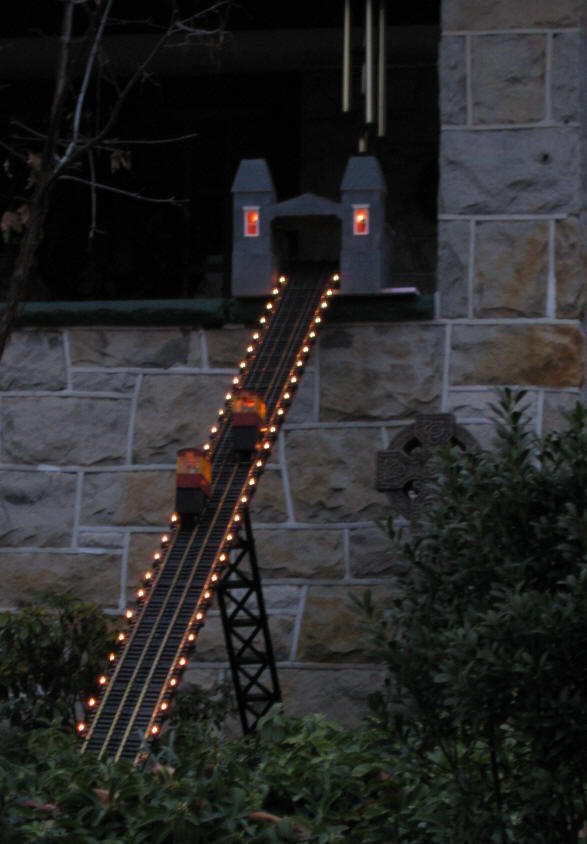
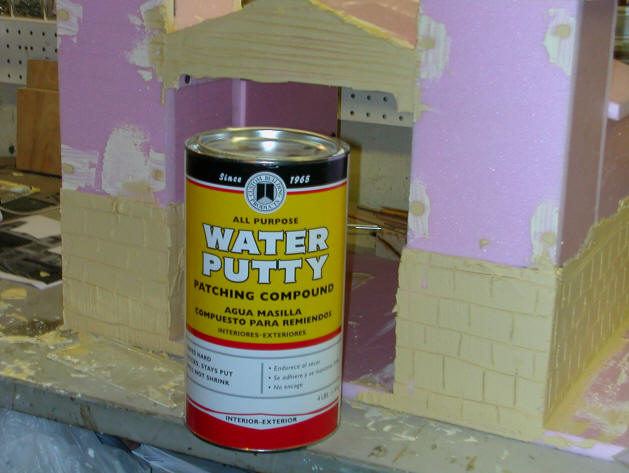
It's Alive! Running on December 1, as planned - more work needed on the buildings but the incline is functional! Texture was added to the foam building by coating the bottom section and roof towers with a thin layer of a cement product called Water Putty. When it was nearly dry lines were scribed into it to represent shingles and stone joints.
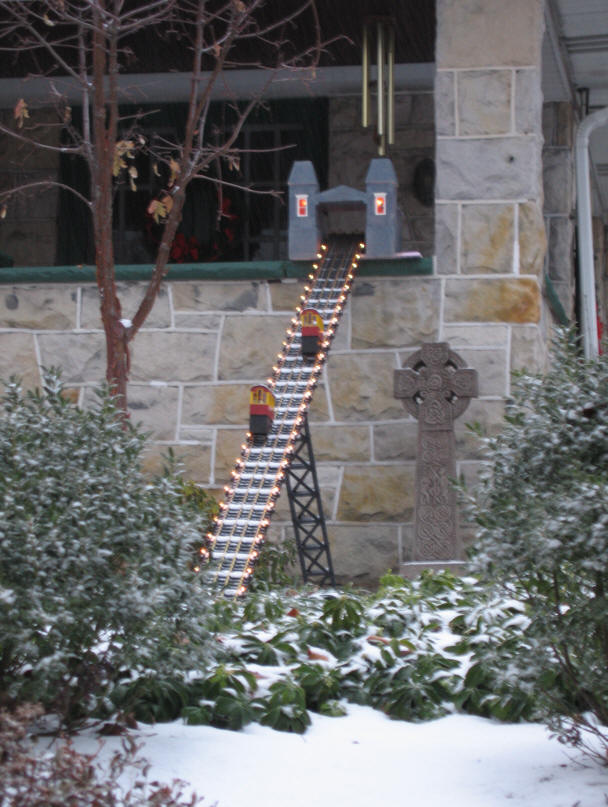
At dusk:
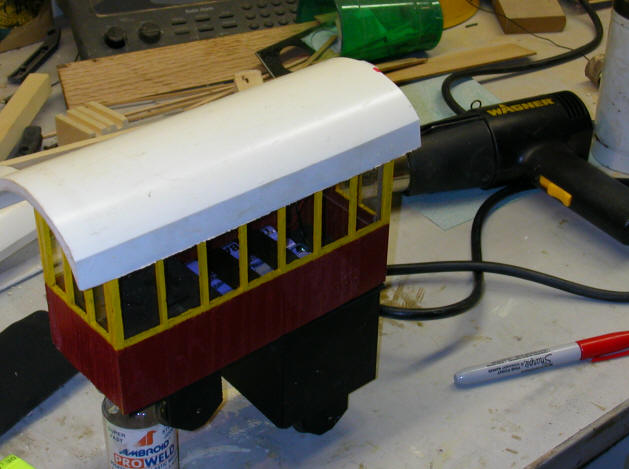
LIGHTING The lights along the sides of the track (all 56 of them) are from an inexpensive set of 200 Christmas tree lights. Since I didn't want 110 volts running through this system and since the spacing between the lights didn't fit my plans I cut the bulbs from the string and rewired them, extending the wires between bulbs to fit the track supports. Power is from a 17 volt AC transformer. I dimmed the bulbs a bit by wiring sets of 8 bulbs in series and then the 7 sets of 8 in parallel connected to the transformer. An additional set of 8 bulbs are in the building, 4 on each side. CONTROLLER The incline is controlled by a microprocessor based unit that I designed to control a point to point auto-reverse trolley. The controller runs the incline up and down based on time. The trip takes a bit over 90 seconds. The pause between trips is adjustable and normally is between 30 and 60 seconds. For details on the controller see: http://www.trainelectronics.com/ - the second item is the "Auto-Reverse Controller" I wasn't completely satisfied with the roof on the incline and the emery paper took a beating from the rain and snow that fell the first few weeks of December. The revised, and more prototypical, roof is make of a section of 4" plastic pipe that was cut on the table saw. I heated it up with a heat gun and shaped it a bit so that it more closely met the curve on the roof trusses on the car.
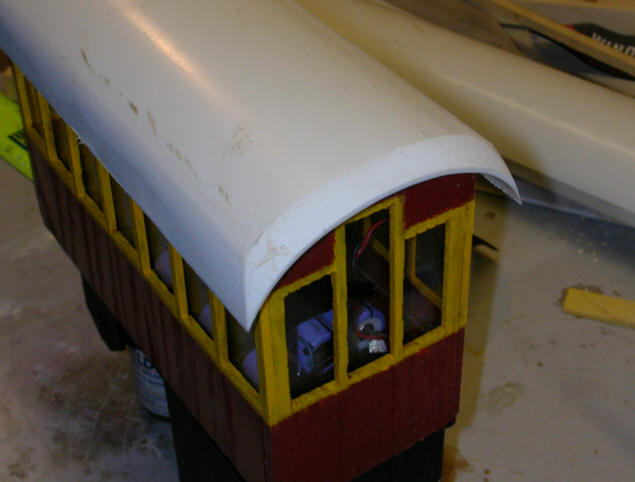
A bit of shaping on the belt sander gave a nice representation of the "hat brim" that is on the real incline's roof.
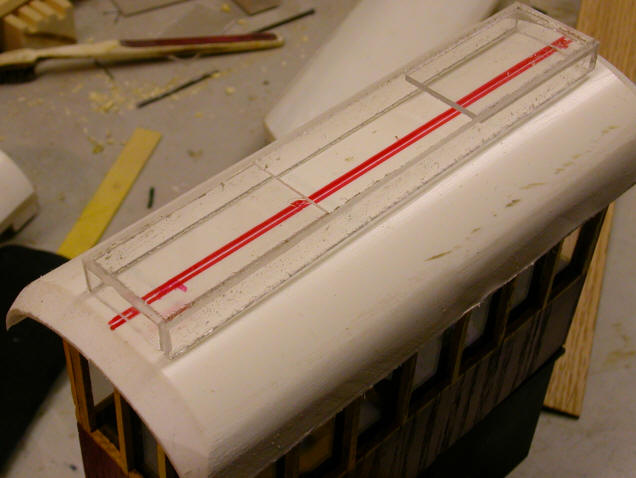
While I was at it I decided to add the raised roof section, called a clerestory, to the roof. It is made of Plexiglas so that it can be illuminated.
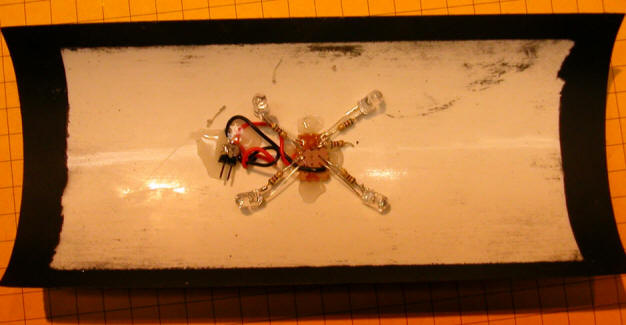
Here is a view of the LEDs that illuminate the interior of the car.
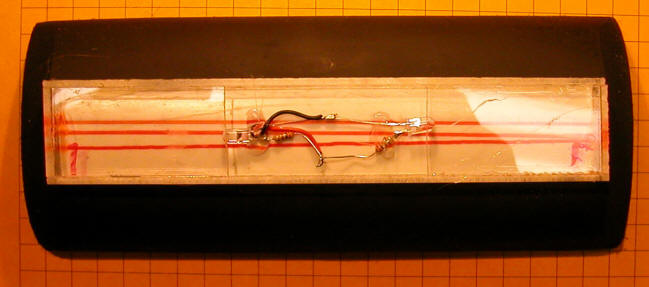
This photo shows the red LEDs that illuminate the clerestory.
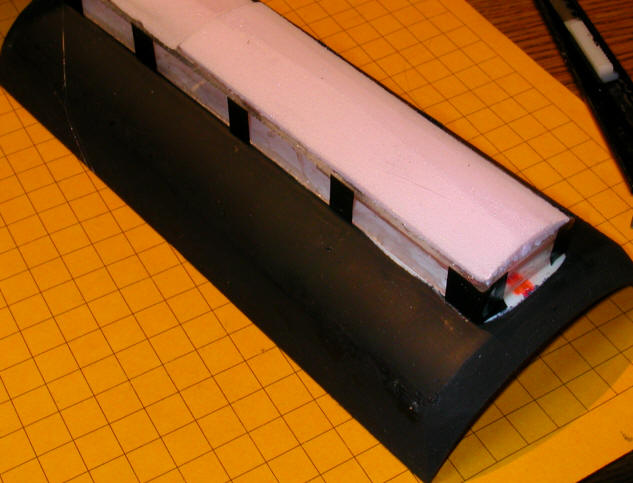
Black tape was added to make panes in the windows. Shaped pink foam was glued to the top of the clerestory to help the top roof section hold its shape. This roof was made of emery paper.
Here's the finished roof. Much better if I do say so myself! I can't wait to see it after dark!
|


.JPG)
.JPG)